This article is for informational purposes only and is not veterinary advice.
Cleaning your dog’s ears at home is one of the simplest ways to prevent painful infections but only if you do it gently and correctly.
A dog’s ear canal is L-shaped and surprisingly delicate, so jamming a cotton swab down it can push debris deeper or even damage the eardrum.
The good news: with a vet-approved ear cleaning solution and the right technique, routine ear cleaning takes about five minutes and most dogs learn to tolerate it just fine.
This guide covers when and how to clean dog ears safely, the supplies you need, breed-specific tips, and the warning signs that mean “stop and call the vet” instead.
Why Your Dog’s Ears Need Regular Cleaning
Dogs produce earwax just like humans do, and in normal amounts it protects the ear canal by trapping dirt and debris. Problems start when wax, moisture, and dead skin build up faster than the ear can clear them — creating a warm, damp environment where bacteria and yeast thrive. Dogs with floppy ears (like Cocker Spaniels and Bassets), dogs that swim frequently, and allergy-prone breeds are especially vulnerable because airflow is restricted. Regular gentle cleaning removes that buildup before it becomes an infection. Think of it as preventive maintenance: a few minutes every couple of weeks can save you a painful, expensive vet visit later.
Gather the Right Supplies First
You need surprisingly little: a veterinarian-approved dog ear cleaning solution (never use water, hydrogen peroxide, or alcohol, which irritate the canal), cotton balls or gauze pads, and plenty of treats. Skip cotton swabs entirely they pack debris deeper into the L-shaped canal and risk eardrum injury. Choose a cleaning time when your dog is calm, like after a walk, and have everything within arm’s reach before you start. If your dog is anxious about ear handling, spend a few days just touching and rewarding around the ears first. A calm dog and the right supplies make the whole process smooth.
Step-by-Step: How to Clean Your Dog’s Ears Safely
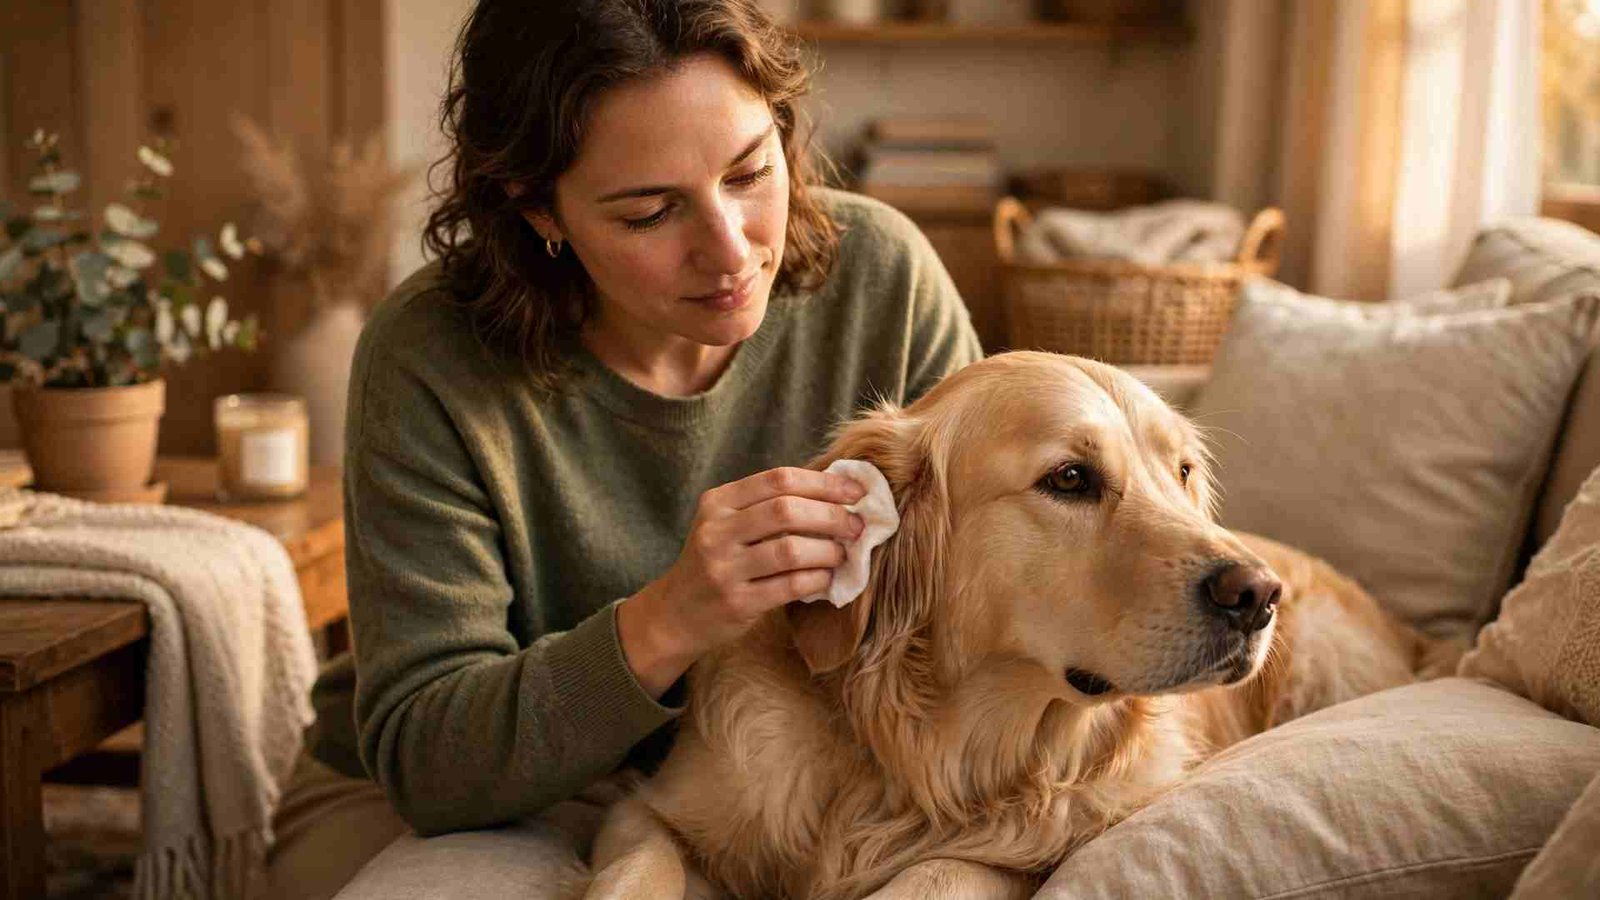
Start by gently lifting the ear flap to expose the canal opening. Squeeze the cleaning solution into the ear until the canal is filled do not touch the bottle tip to the ear to keep it sanitary. Then massage the base of the ear (where it meets the head) for 20–30 seconds; you should hear a squishing sound as the solution loosens debris deep in the canal. Let your dog shake its head this is nature’s way of bringing loosened gunk to the surface. Finally, wipe away the visible debris from the outer ear and ear flap with a cotton ball or gauze, reaching only as far as your finger comfortably goes. Reward generously, then repeat on the other ear with fresh cotton.
How Often Should You Clean Your Dog’s Ears?
There is no one-size-fits-all schedule over-cleaning irritates healthy ears. As a general rule, check ears weekly and clean every 2–4 weeks, or after swimming and baths. Floppy-eared breeds, dogs with allergies, and frequent swimmers may need cleaning every 1–2 weeks. Dogs with upright ears and no history of problems often need only monthly attention. During your weekly check, look inside: healthy ears are pale pink, have minimal odor, and show only a small amount of light-brown wax. If the ears look clean and smell fine, leave them alone — cleaning a healthy ear too often strips protective oils and causes irritation.
Floppy Ears vs. Upright Ears: What Changes
Ear shape changes the game. Floppy ears trap heat and moisture, so after cleaning, make sure to dry the outer ear thoroughly and consider gently folding the flap back for a few minutes to air out the canal. Upright ears get better airflow but collect more dust and pollen, so a quick wipe of the visible inner flap during grooming sessions goes a long way. Hairy ear canals (common in Poodles and Schnauzers) can trap debris ask your vet whether gentle plucking or trimming is appropriate for your dog rather than doing it yourself. Always adapt frequency to what you actually see and smell, not to a rigid calendar.
Warning Signs: When to Stop and Call the Vet
Routine cleaning is for healthy ears only. Stop immediately and contact your veterinarian if you notice a strong yeasty or foul odor, dark brown or black discharge, yellow or green pus, significant redness or swelling, scabs or crusting, your dog crying when the ear is touched, or persistent head shaking and scratching. These are classic signs of an ear infection, ear mites, or a foreign body and cleaning an infected ear at home can make things worse. Likewise, if your dog has a history of ruptured eardrums, never put liquid in the ear without explicit vet approval. When in doubt, a vet check is always the safer choice.
Mistakes That Hurt More Than They Help
The most common error is going too deep never insert anything into the ear canal beyond what you can see. Using homemade remedies like vinegar solutions or essential oils can burn inflamed tissue; stick to products made for dogs. Cleaning too frequently strips the ear’s natural defenses and creates the irritation you were trying to prevent. Restraining a panicked dog and forcing the process teaches them to fear ear handling for life if your dog is truly distressed, stop and ask your vet or a groomer for help. And never ignore a bad smell hoping it will resolve on its own; odor almost always means infection.
FAQs:
Can I use baby wipes to clean my dog’s ears?
Only for wiping the outer ear flap, never inside the canal. Baby wipes do not dissolve deep wax and some contain fragrances that irritate. A proper ear cleaning solution and cotton balls work far better.
Why does my dog shake his head after ear cleaning?
Head shaking right after cleaning is normal it helps expel the loosened debris and excess solution. If vigorous shaking continues for hours or the dog seems painful, contact your vet.
What does healthy dog earwax look like?
A small amount of light tan or pale brown wax is normal. Dark brown, black, or gritty discharge resembling coffee grounds can indicate mites or infection and warrants a vet visit.
My dog hates ear cleaning what should I do?
Desensitize gradually: touch the ears, then lift the flap, then introduce the bottle — rewarding calm behavior at each stage over several days. Keep sessions short and always end on a positive note.
Can I clean my puppy’s ears?
Yes, once your puppy is comfortable being handled. Start early with gentle wiping of the outer ear so ear care becomes a normal, stress-free routine as they grow.
Is it safe to clean my dog’s ears after swimming?
Yes and recommended. Moisture trapped in the canal after swimming is a top cause of infections. Clean and thoroughly dry the ears after every swim.
Conclusion
Knowing how to clean a dog’s ears safely is a core part of responsible pet ownership: fill the canal with a vet-approved solution, massage the base for 20–30 seconds, let your dog shake, and wipe away what surfaces never probing deeper than your finger can reach.
Match your schedule to your dog’s breed and lifestyle, checking weekly and cleaning every few weeks or after swims.
Most importantly, learn the red flags odor, discharge, pain, and swelling mean the vet, not the cleaning bottle.
Done gently and consistently, at-home ear care keeps your dog comfortable and those vet visits rare.